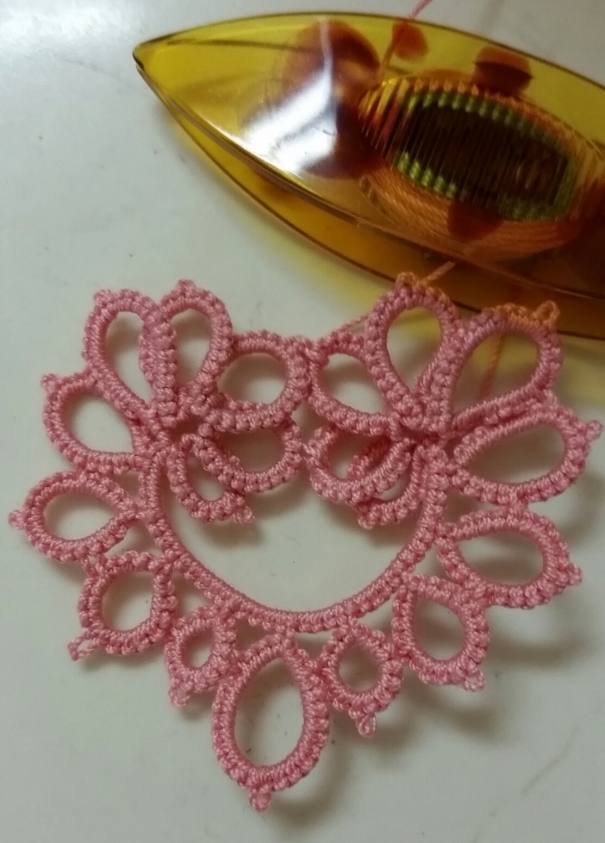
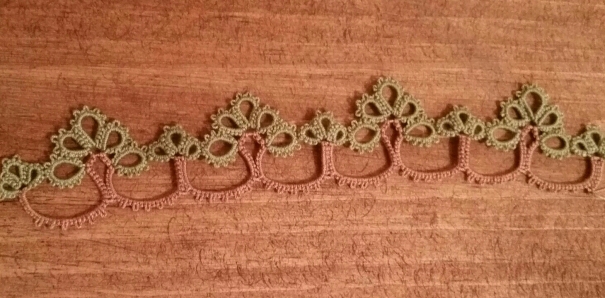
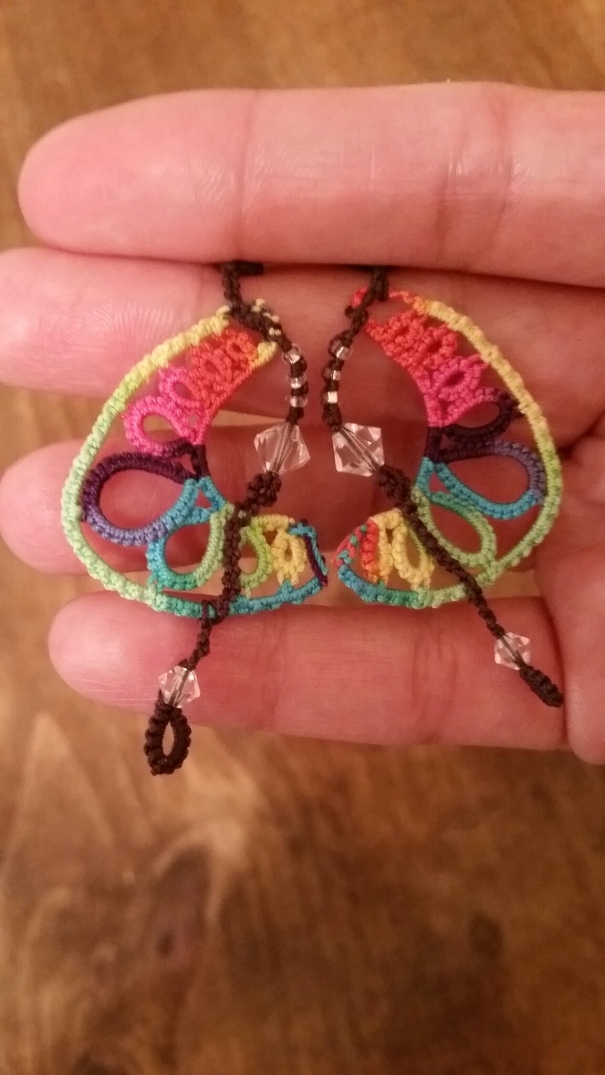
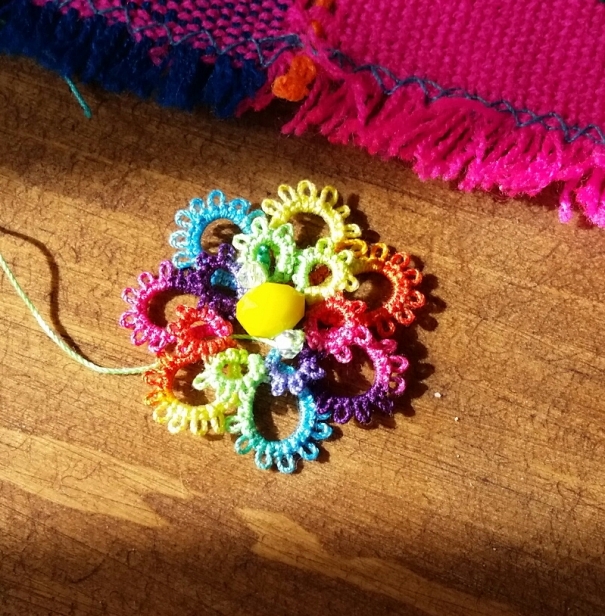
I’m still crafting, I swear!

Sheesh. I haven’t been home since April. I am still at my parents helping them with their house. Up until a few weeks ago, I didn’t have any time for crochet or tatting. The lack of craft time was seriously affecting my mood. I really find a zen place when I am making things.
Luckily, I had a great excuse to try something new!  While searching for the perfect father’s day gift for my better half, I ran across a website called http://projectpuppet.com.  It’s a great place for anyone interested in making puppets. You do have to pay for the patterns, but I justified the price after seeing my little one react to the two I have made.
I bought two patterns, the glorified sock puppet and the pinhead pattern. If you have basic sewing skills you will have your puppet body finished in about an hour. I was happy to find that with about 20 dollars in supplies (got to have those 50% off coupons!) I can make about 4 puppets.
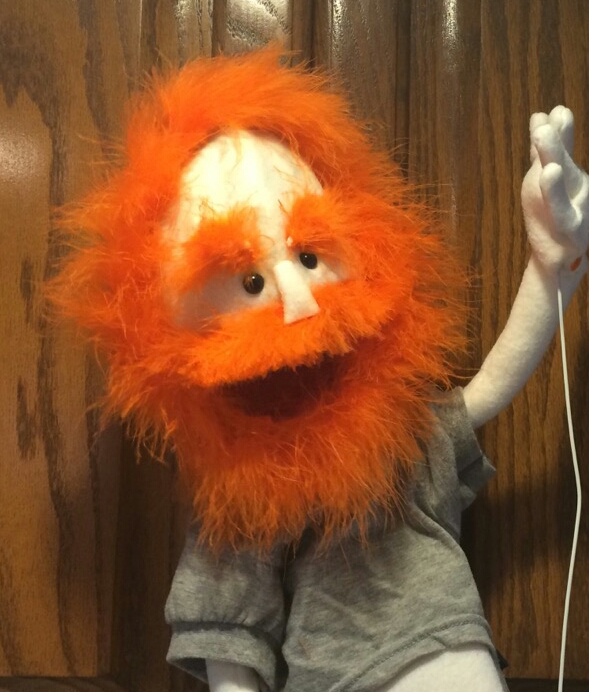
I was very excited to make my first puppet. It is an adorable version of my husband. I used the pinhead pattern because he has an oval shaped face.

image

It cracks me up. In real life, he stands out in any crowd with this big red beard and eyebrows, so the puppet it pretty spot on. He really enjoyed getting an unusual gift.
I used an orange boa for the hair and kept the eyes simple, using some safety eyes I already had.
The next day, I started on a puppet number two. I was itching to see how the glorified sock puppet pattern would look.

image

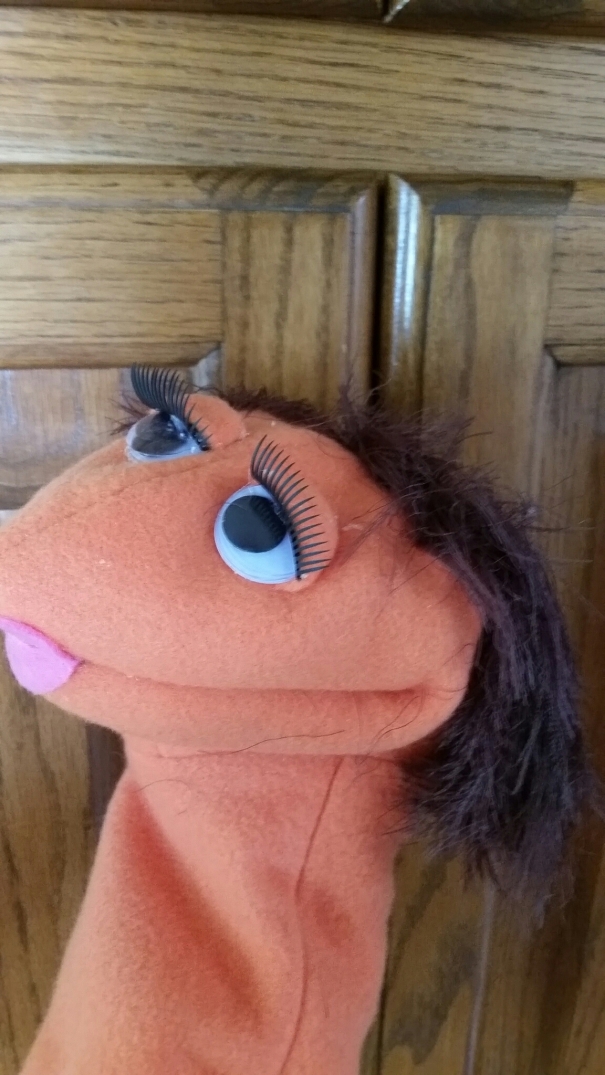
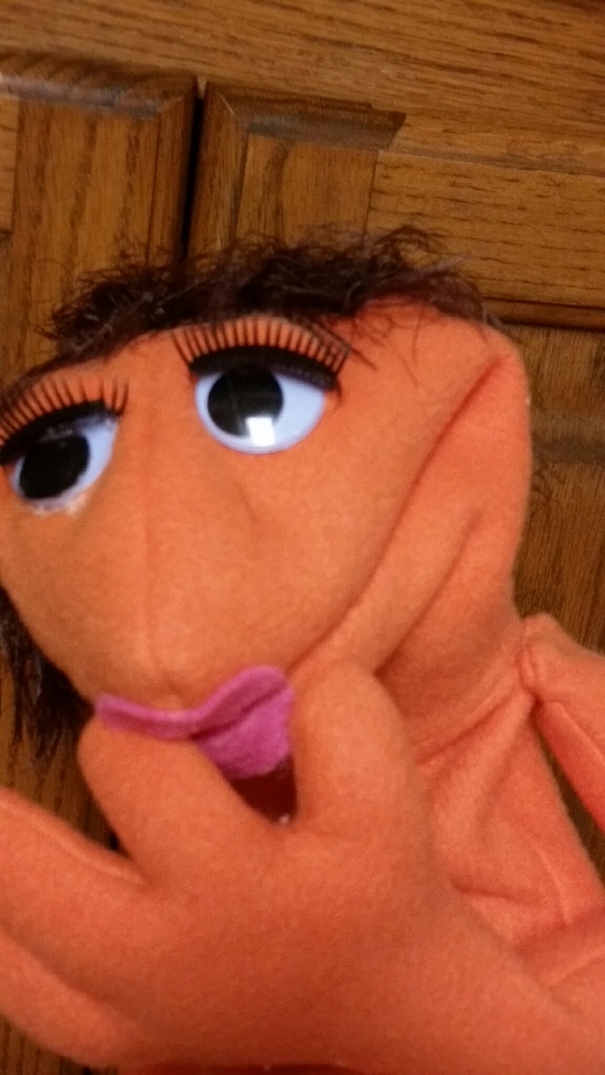
Aside from a hot glue accident on one of her eyes, she was a super easy project. The hot glue has given her a permanent tear.

image

This is her before I added her arms. I used some scraps of eyelash yarn for her hair, it looks great. I like how easily this pattern can be made into different animals.
My little one loves the “puppies.”  She hugs and kisses them more than kisses me. I find it funny that she asks for me to put on a show for her, but is terrified to put her hand in there herself. I guess she doesn’t know what she will find in there.
I am going to make the next puppet and not hot glue the facial features down. Instead, I will put velcro on the backs so that my little one can play with different eye and nose combinations.
Crochet Easter!

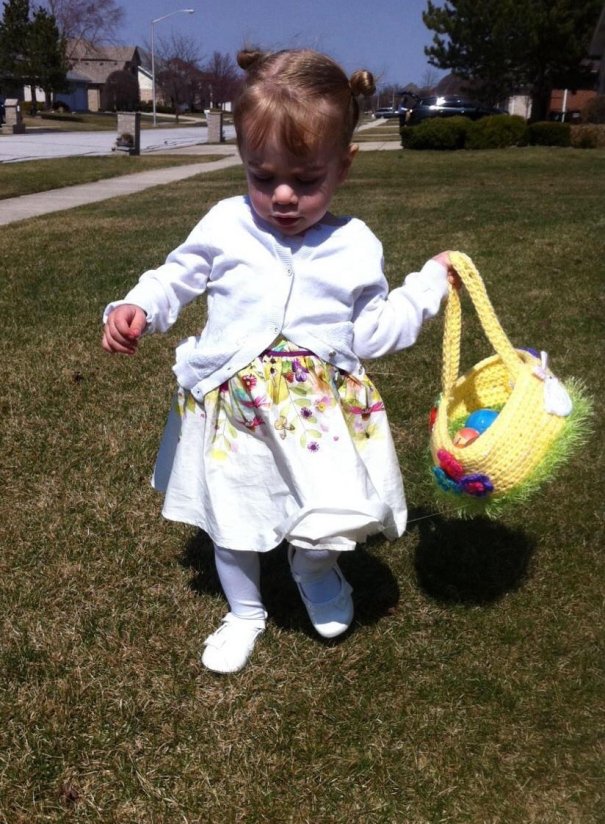
I hope you all had a great Easter. Ours was great. When we first arrived here, it looked like we were going to have a white Easter, but the weather changed a week before and it was just beautiful.

image

I haven’t  had time to finish a project since my arrival, so I thought I’d feature my lovely mom’s work. I am so proud of her, she started crocheting in October and has improved drastically.
image
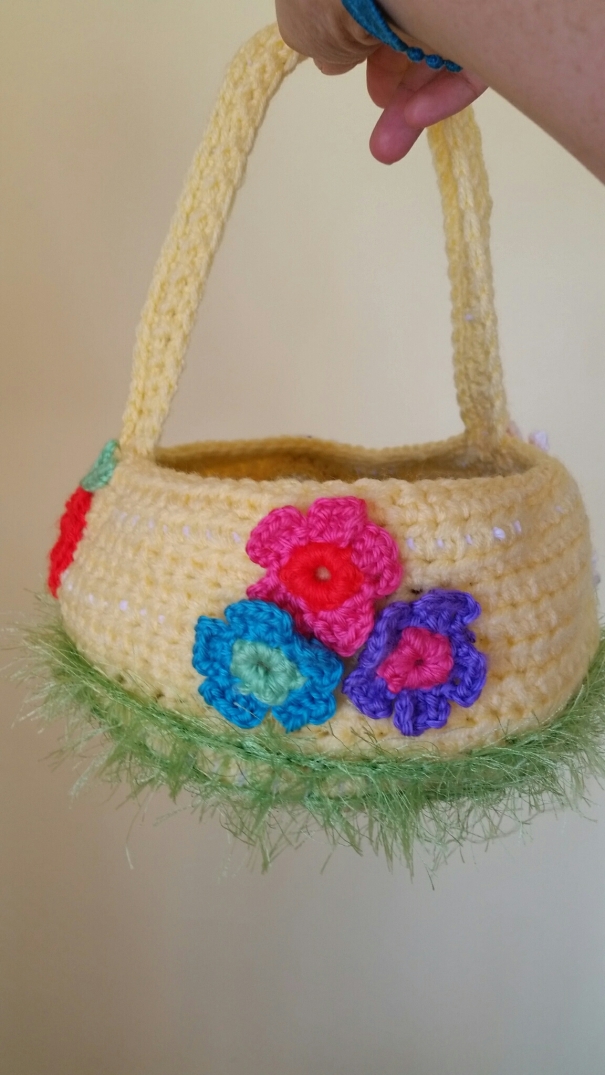
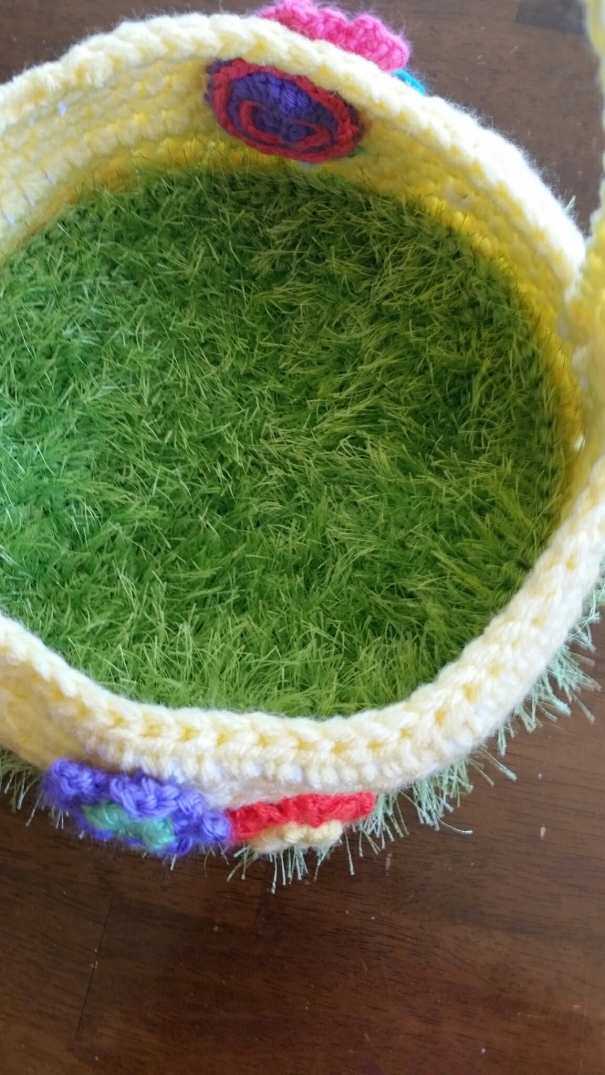
She made this sweet Easter basket for my little one. She played around with motifs and used fun and bright colors. My favorite part was the inside.
image
She used that pesky eyelash yarn to make grass for the basket. Anyone that has used eyelash yarn knows how hard it is on one’s eyes. Its worth the work. No more annoying plastic grass all over the house.
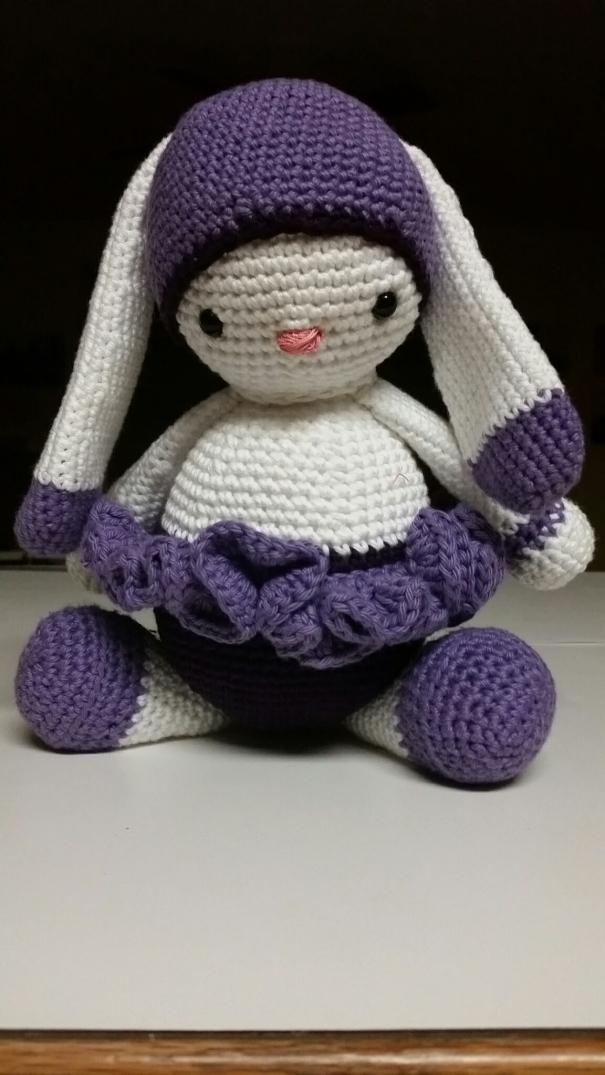
She also made this bunny.
image
It is just too adorable for words. It’s a free pattern found on ravelry by Dam’M (Alexia Giraud).
Link is found here

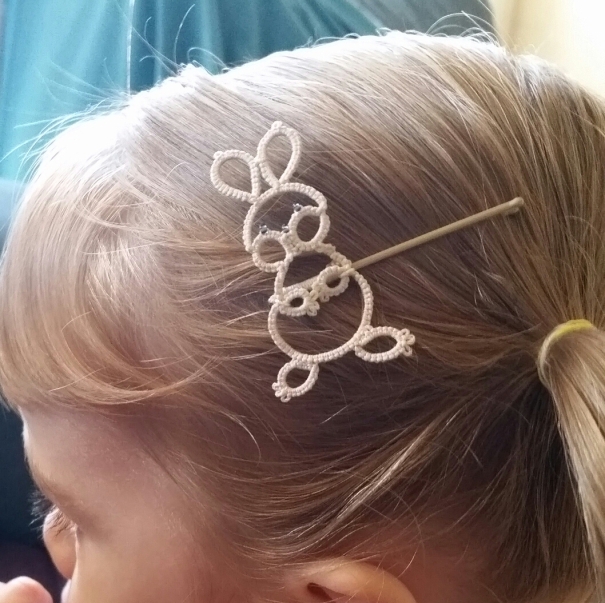
I did have time to sneak in a tatted bunny.

image

I wasn’t about to let a holiday slip by without a little tatting! This bunny pattern is by someone that called wiki. I am not fond of posting about a free pattern without a link, but cannot find it at this time. I made sure to finish it before leaving town.
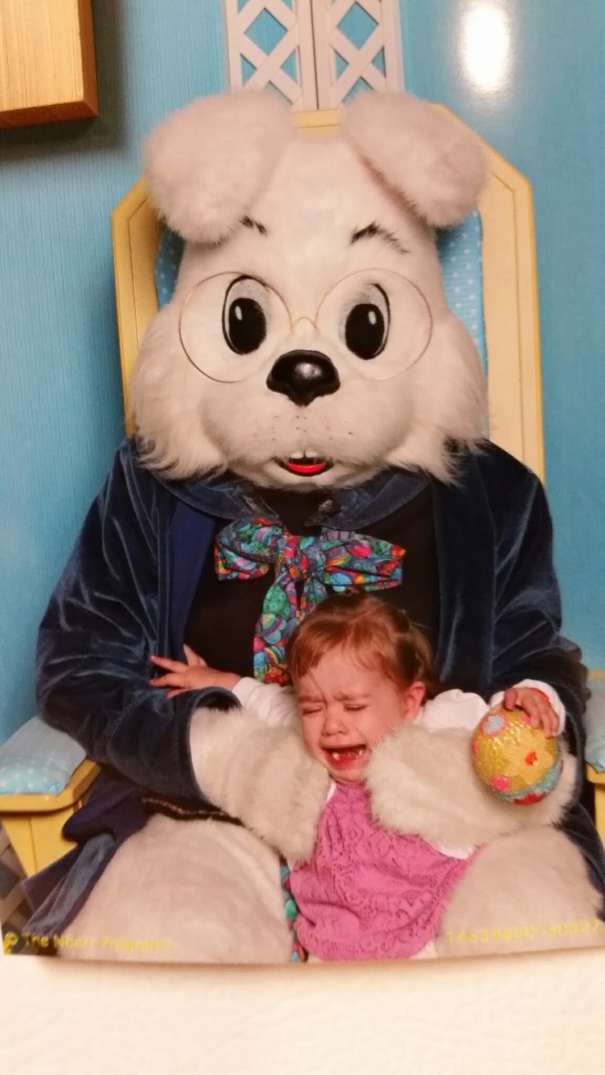
I am sure we can all agree that the tatted bunny is cuter than this one.
image

The things we do to our kids!

Latest projects

I have neglected my poor blog. I leave in a few days for a 12 week trip and have been very busy making preparations. I am so excited! I am going to visit my parents and help them prepare their house for sale. It’s very bittersweet, I have many good memories in that house, but I am also excited for them to make the move they have wanted for so long.
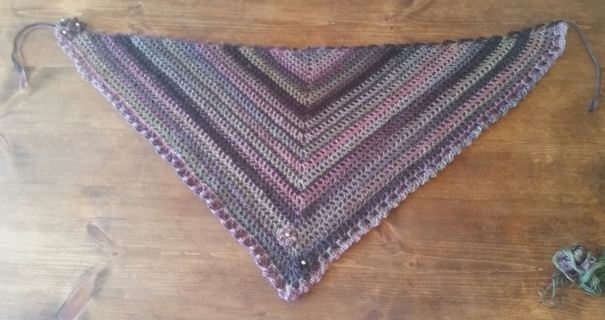
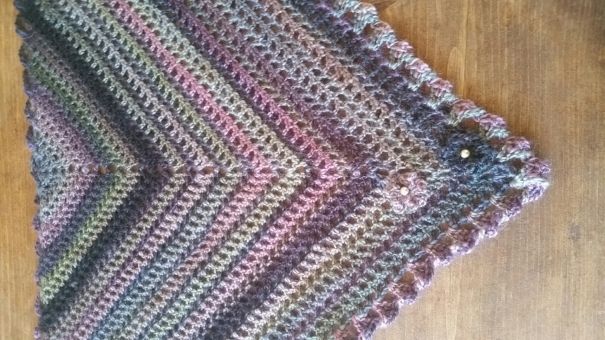
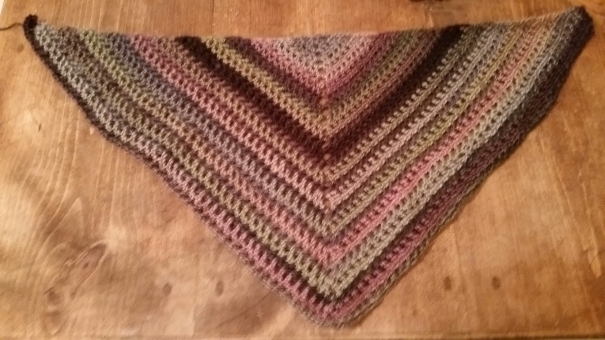
This upcoming trip gave me that final push to finish my road trip scarf by Zooty Owl, link here. I have little need for it in Mexico, but with Chicago being in the 40s, I can flaunt it.

image

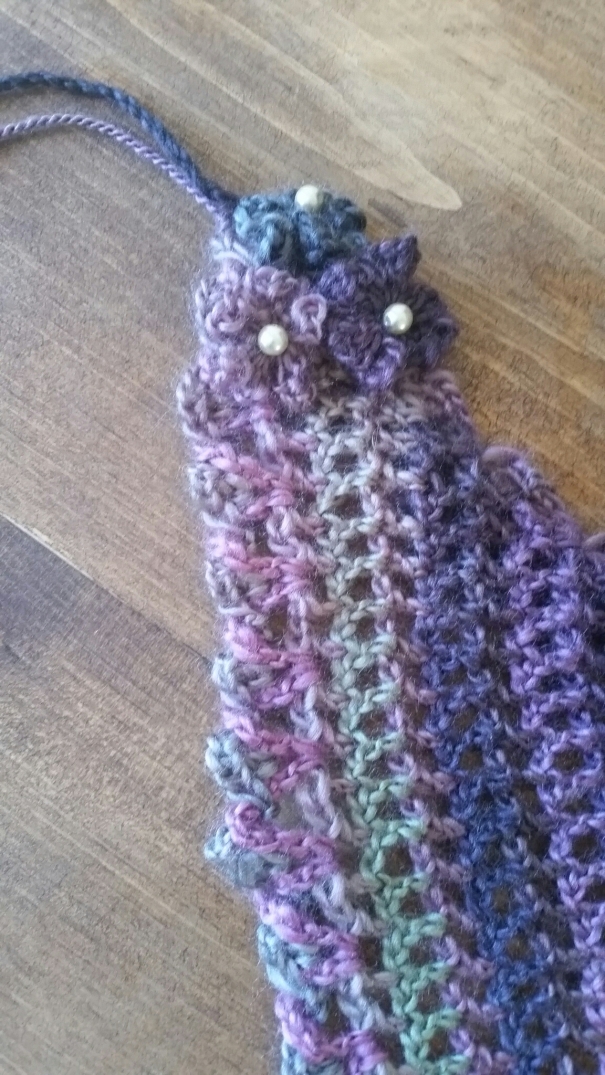
I haven’t decided on my flower placement.  I keep moving them around and looking at them throughout the day.

image

I am loving the pearls I added.

image

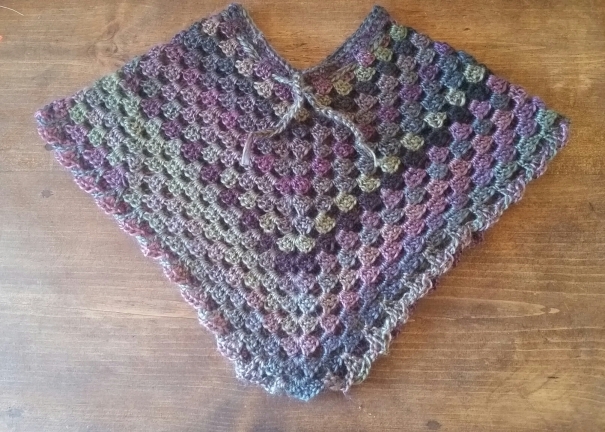
I had quite a bit of yarn left over from the project and made my little monster a poncho from Bobwilson123, link here

image

I liked the edging on the road trip scarf so much that I used it for the poncho. I felt that the corners on it looked long compared to the rest of it so I worked the edging from the chain space after the tip to the space before the next one, excluding the corners.

I also made another one of Marilee Rockley’s patterns.  This one is from her book Marilee’s Beaded Tatted Finery. it was a bit fiddly, but I loved the outcome. It is so springy.

image

Now I am trying to finish a few WIP before I leave town. My on flight project will be…hiding my ends on these projects! Not the most exciting thing, but hey, they will in my carry on me for when we land in cold Chicago. Maybe I’ll make a more flowers for the poncho on the flight as well.

My ten day project.

As you know, I have pretty much stuck to small projects I can finish in a day or two. I am slowing working myself up to making bigger and bigger projects. I hope to be posting a huge doily on here one day.
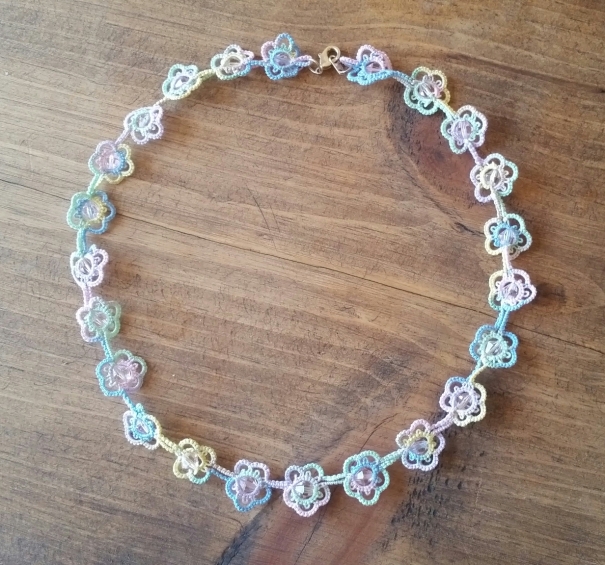
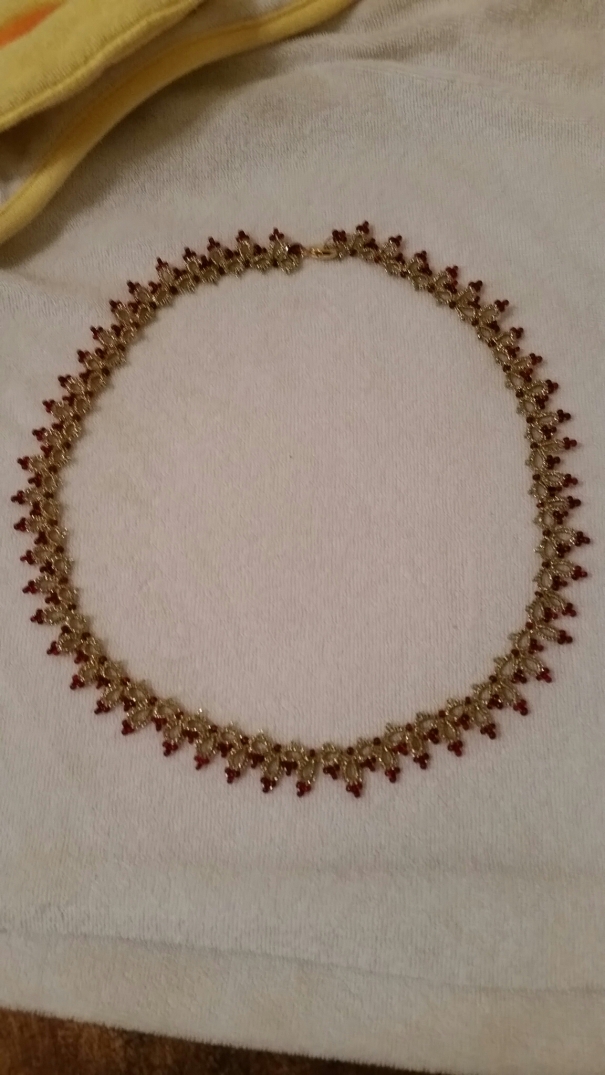
For the past ten days, I have been working on a necklace pattern by Rosemarie Peel.

image

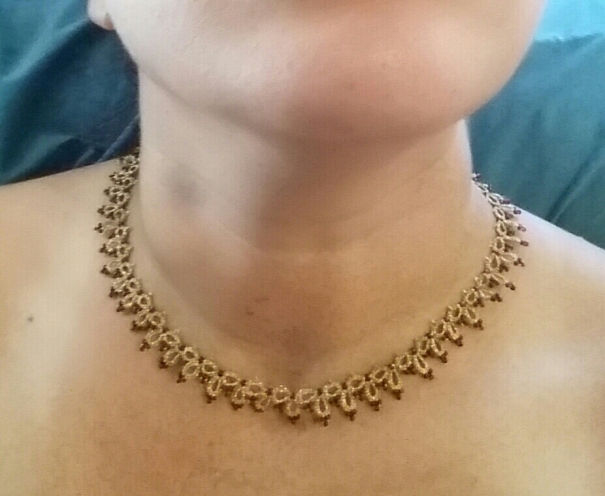
The pattern is called first frost.  While the pattern itself isn’t too difficult, I decided to use a metalic embroidery thread on this one. It was very difficult to work with as far as being able to fix mistakes. It was also very harsh on my hands.

image

In the end, I am thrilled with the results I got. I swore I’d never use the thread again, and of course, have had a request using that thread. Eh, we will call it a labor of love.
Now to figure out what I want the earrings for this set to look like!

Love is in the air!

My name is Marisa, and I love Valentine’s day.  I looooove it. All of it, even the cheesy and tacky parts of it. I am in love with the idea of celebrating my love with the whole world. 
Being the mushy person I am, it’s no wonder that I am so fond of hearts. I have been neglecting my crochet projects as of late because I have been tatting hearts left and right.

image

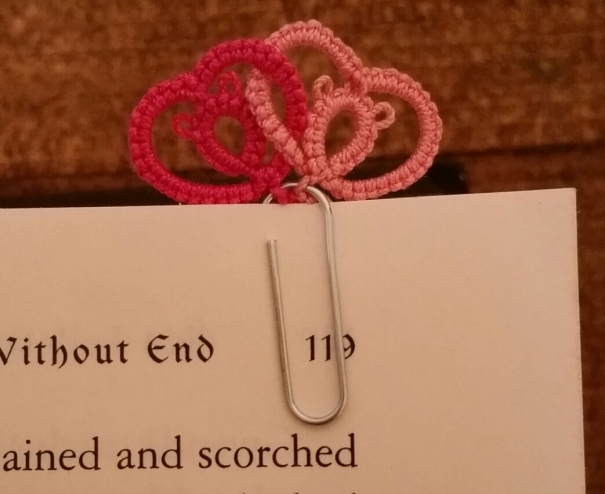
It all started when I saw this little paper clip motif.  Hearts on a paperclip by Ellen Lai. So sweet, I am making a set of these and sending them to my sister in a Valentine’s card. I thought they’d be a nice gift for teachers as well.

image

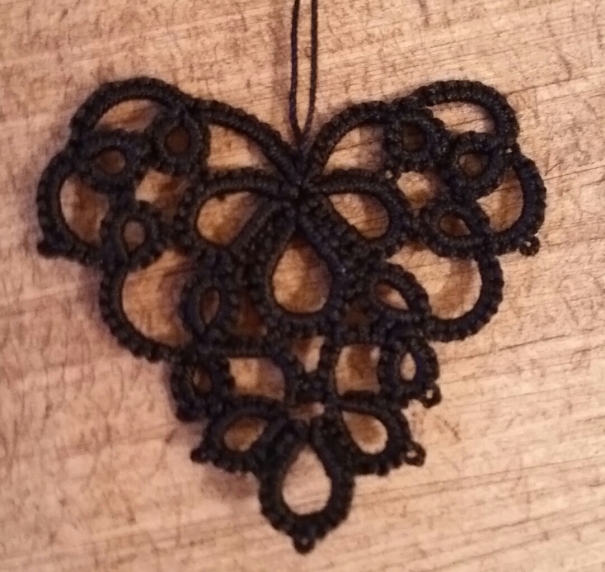
Then came my little Gothic heart. I love how tatting looks in black, but my poor eyes!  It’s so hard to see the stitches. This is from the rainbow heart bookmark by Betsy Evans. I haven’t decided what I will do with it yet. I might make the whole bookmark. 

image

I found myself up at 2 am last night working on this lacey wonder. It is unfolding heart by Marilee Rockley. I am going to put the outside border on it, but I just can’t decide on what color to use.
This pattern was a big learning experience for me as far as patience goes. I see my work getting better and better, but I find myself being stubborn at times and doubting the pattern. 9 times out of ten, trust the pattern!

It hasn’t been only hearts for me this week.

image

This sweet little pattern is by Little Black Lace. I think it is so darn cute!  Too bad I smudged some coconut oil on it!  I will find a way to save this.

I can’t wait to see what everyone else has been making for the big day. Happy Valentine’s day!

Tatting and crocheting to cure the blues

I’m homesick. I think social media is making it worse. I see the people I miss doing their daily routines and long to be a part of it. The solution: crafts, crafts, crafts.
I have been keeping myself distracted with tatting and crochet.

image

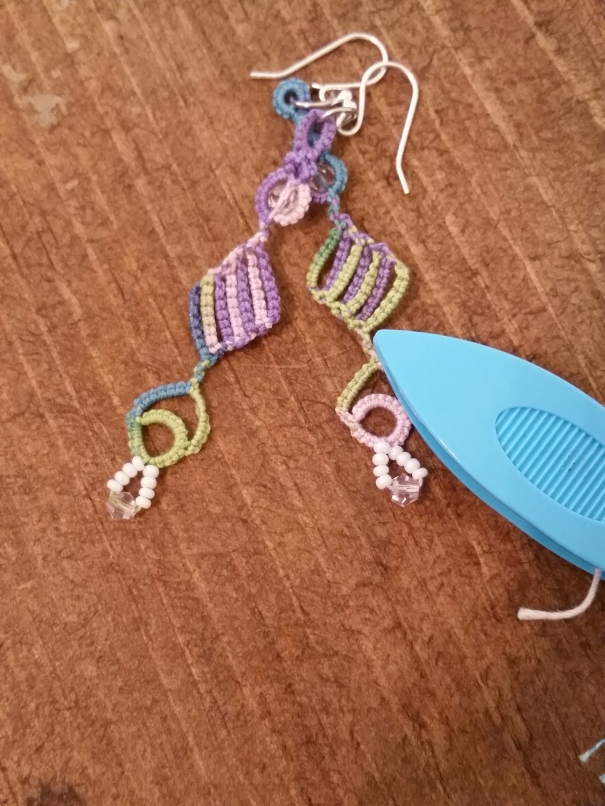
A splash of color helps with lightening the mood, and this rainbow does the trick. This is a pattern from Marilee Rockley’s book Beaded Tatting Finery. I love how funky and bright they are. I am keeping these for myself.
I found some good patterns on
http://www.tattingpatterncentral.com/categories/earrings.php.

image

I loved this one, two layered tatted flower by Jennifer Williams.

I started to make things for when I see the people I have been missing. I started the roadtrip scarf from http://zootyowlcards.blogspot.mx/2014/06/road-trip-scarves-pattern.html?m=1

image

I can’t wait to finish it. The yarn is just amazing. It is red heart’s unforgettable yarn in echo. I just can’t get over how the colors make this very easy project look so sophisticated
.

image

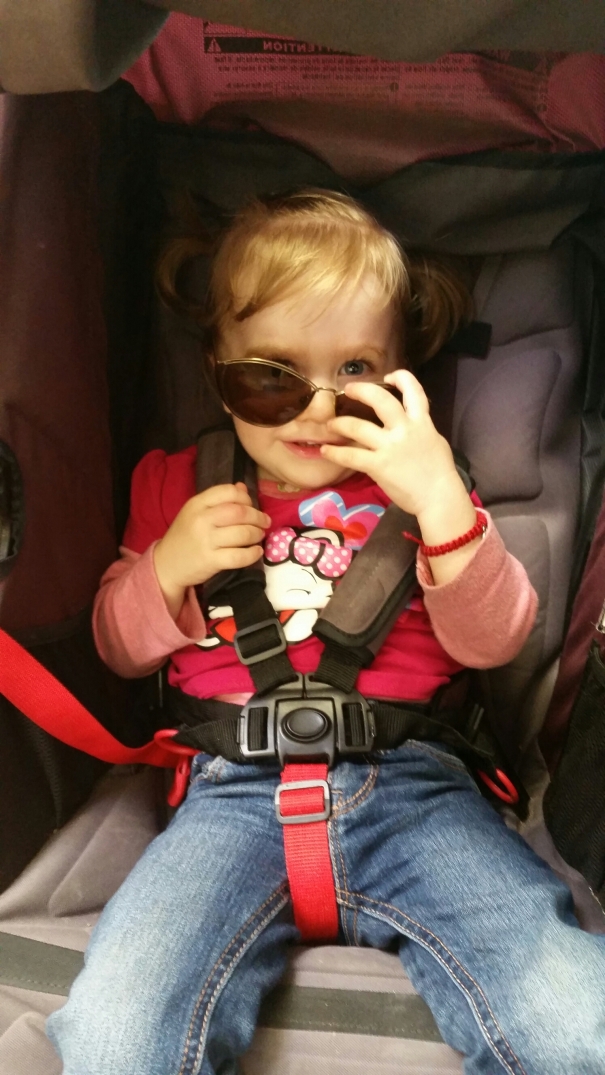
Of course, I can only be so homesick when I have this stinker around. Let’s just hope she doesn’t knot up my yarn again!

Looking at a previous project

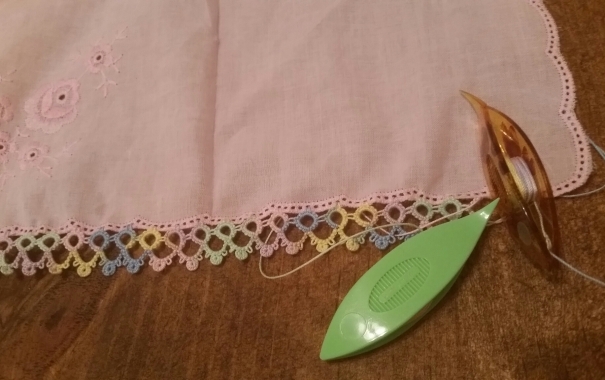
It seems like just about every time I organize my tatting supplies, a handkerchief gets left out of the bin. This time, instead of putting it away, I took the hint and started looking for a pattern to follow. Of course, I fell down the pintrest rabbit hole and an hour later I ended up trying a pattern I already had at home.

image

I got the pattern from a Japanese book called My First Tatting Lace.  I love that the pattern was simple and it involved a new element for me, Josephine rings. I am in love with how pretty they look.

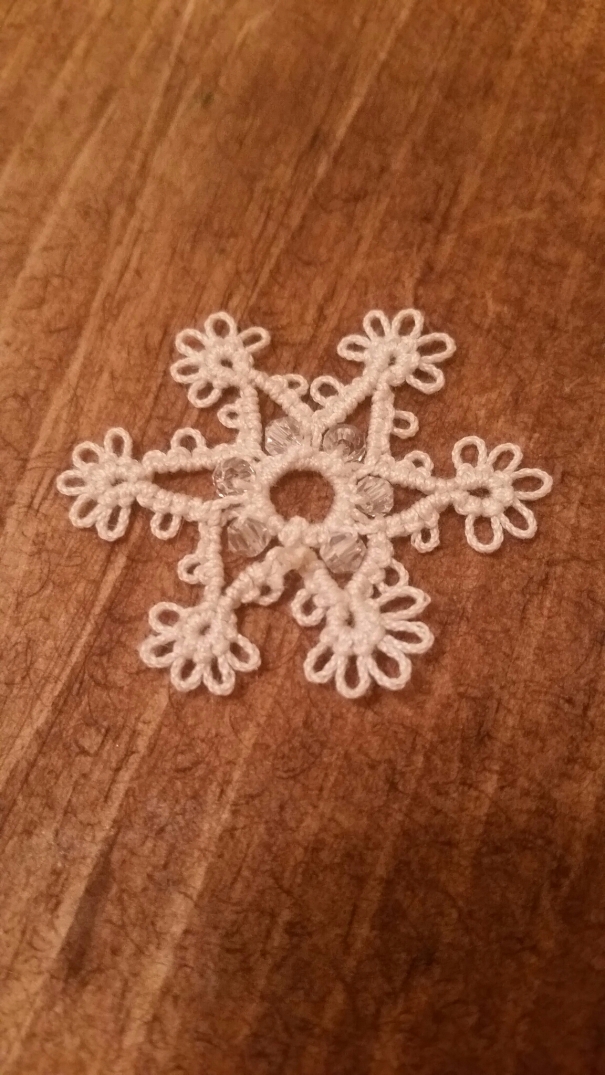
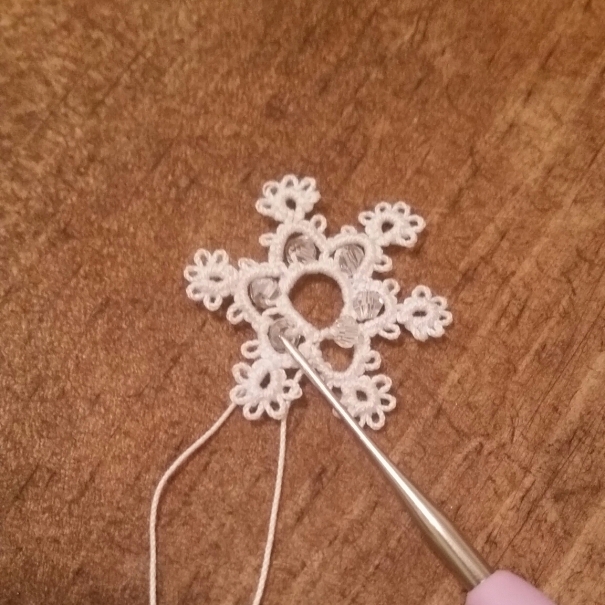
The Josephine rings reminded me of one of the first projects I made. The small snowflakes by decoromana that I gave to my mother as earrings. These were done before I finished my craftsy lessons, and before I knew about floating chains. I decided to redo that pattern to see how my skills have improved.

image

My first attempt. I was so proud of it, now I look at it and wrinkle my nose. I had no idea what the pattern was asking for and failed to make floating chains. I also glued the ends instead of hiding them.
So my revisit to the pattern fared better, now that I have been educated by craftsy, youtube, and Facebook.

image

Aha!  This looks so far more delicate, and the stitches are tighter. 
I wonder how I will look back at my current projects in a year or so?

My first ankars project

The internet is such an amazing playground for a crafter. I have learned so much and am constantly inspired by what i see on facebook, blogs, and pintrest. I have been watching Karen Cabrera’s youtube videos lately.  Her videos are very clear and direct.  If you are new to tatting, like I am, you should really take a look at her videos.

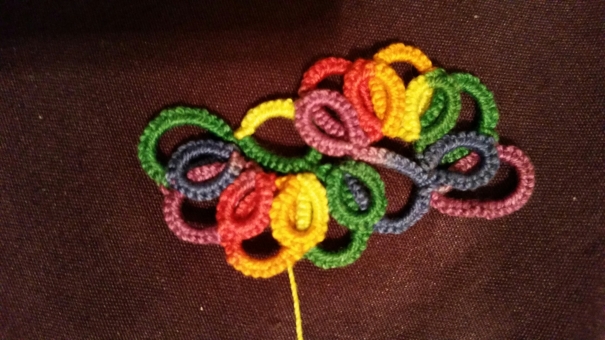
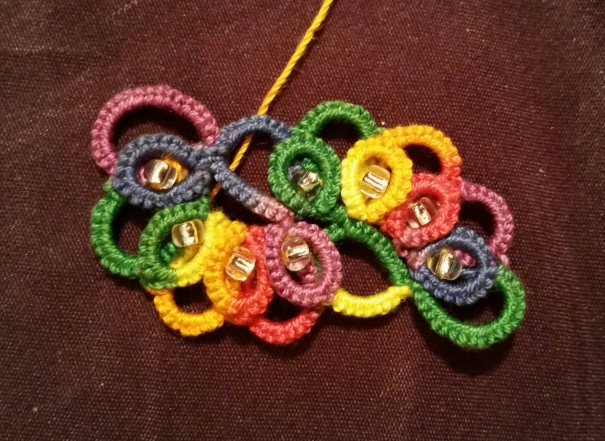
I found myself up at night making this ankars motif from one of her videos.

image

It was a surprisingly fast project. I was very excited to add the beads.

image

I held back from adding more beads because I didn’t want to take away from the pretty colors.

image

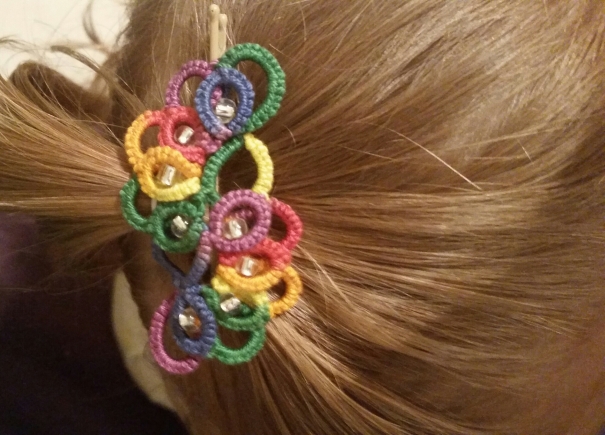
This was too pretty to put in my sample drawer, so I fastened the motif to a bobby pin, stuck it in my daughter’s hair went out about town.
The link to the video is here:
Frivolite-Tatting Lesson 105 – Ankars Basico – Ba…: http://youtu.be/b0wm7inV4no
I can’t wait to make this one in more colors!

The more you tat, the more you learn

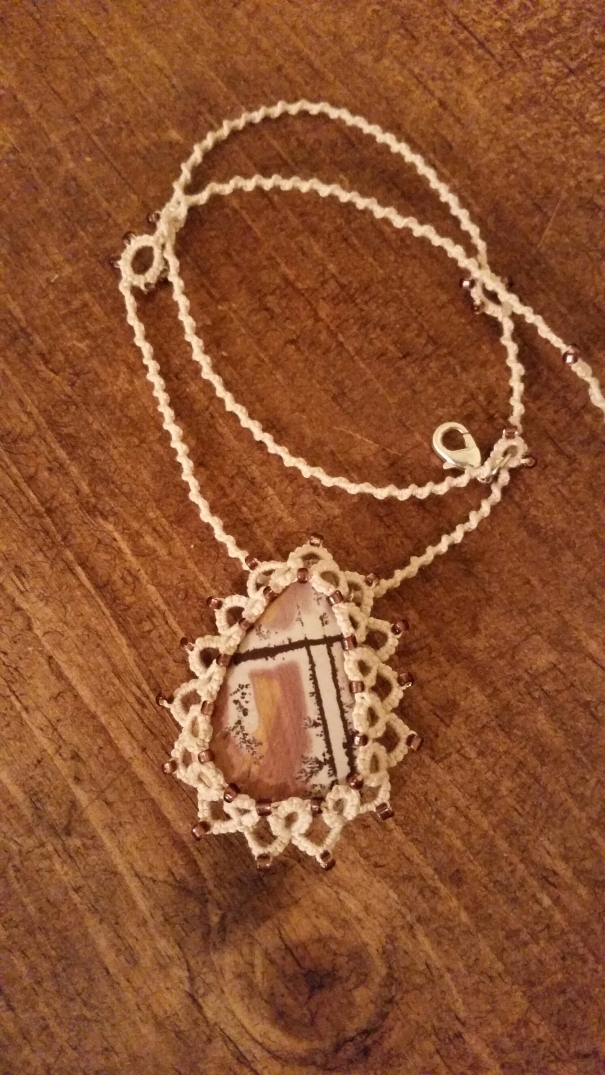
As you know, I am pretty new to tatting. Three months ago, I had never even heard of it. That being said, I saw Corina Meyfeldt’s blog post on tatting a cabochon pendant I wondered if I was taking on too much too soon. But, as chance would have it, I came across some stones and I knew I had to try it. This one was a real challenge for me, but the more projects I do, the more I can learn from them. I both cringe and have pride in my frist projects, such is life.
Her tutorial is here: http://cmhandmade.blogspot.mx/2014/12/tatting-and-cabochons.html?m=1

The result:

image

I love it!  This was a little tricky. I had to figure out my own stitch counts and bead picots. Up until now, I have pretty much relied on patterns.  I decided to make it as simple as possible with my rings being 4-4-4 and chains of 4-4. Just the number 4. I had done a little sketch and thought that the pattern would just fit all the way around, and it did. Phew!  I am not going to lie, there was a point where it didn’t look like it was working at all, but I kept at it.
I made the necklace chain out of the same thread kept it simple as well.  Josephine stitches with a some beaded split rings.
I learned a lot on this one. For starters, I learned that I should probably have made a small sample before going all in on this project. I am lucky I like the look, and most of all that it fit. I also wonder if this a project better suited for a synthetic thread. I gave it a little glue wash. I was concerned that the cotton would stretch or become misshapen. The tatting is snug around the stone and I don’t want any wonky rings. Here’s hoping it works.
Now onto the next one!

I finally make something for myself!

image

Aren’t they great?  This was the last pattern from Marilee Rockley’s craftsy class. I have tatted about 5 pairs of earrings, and these are the first I keep.
For whatever reason, the split chain and I do not get along, but I never back down from a puzzle.   It was also the only time in the craftsy class where I was just not comprehending the directions. Good old YouTube came to my rescue. 
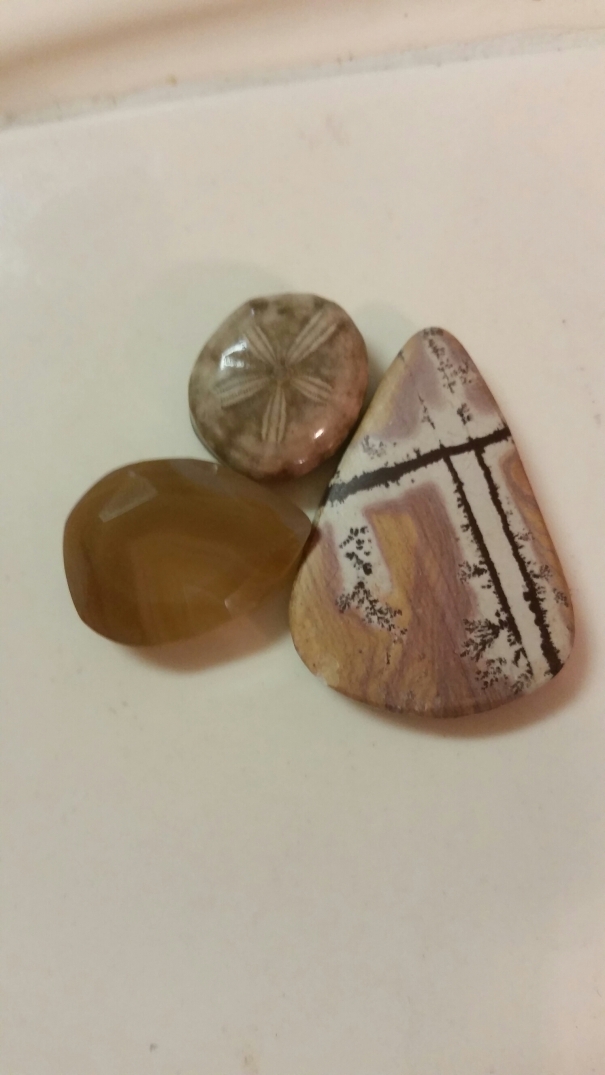
I went to the farmers market today and got some stones. I saw Corina Meyfeldt’s  post on tatting with cabochons and was so excited to find them.

image

I love the farmers market here. They have everything, from produce to soaps to all kinds of crafts. My goal is to one day be organized enough to have my own booth.